Chapter 1 Companion
Chapter 1 Graphic Organizer
Fill this out as you read Chapter 1, Get to know your Raspberry Pi Pico. You can write your answers in your own words: you do not need full sentences.
Name: Period: Date:
Part 1: Meet Your Pico
Read the introduction and the guided tour section before answering these.
Vocabulary
Explain each word in your own words. Use the chapter for help if you get stuck.
| Word | What it means |
|---|---|
| Microcontroller | |
| Single board computer | |
| GPIO pin | |
| Integrated circuit (IC) |
Pico vs. Raspberry Pi
The chapter says a Pico is not the same kind of device as a Raspberry Pi.
- Name one thing a Raspberry Pi can do that a Pico is not really built for.
- Name one job that a Pico is built to do.
Identify the parts
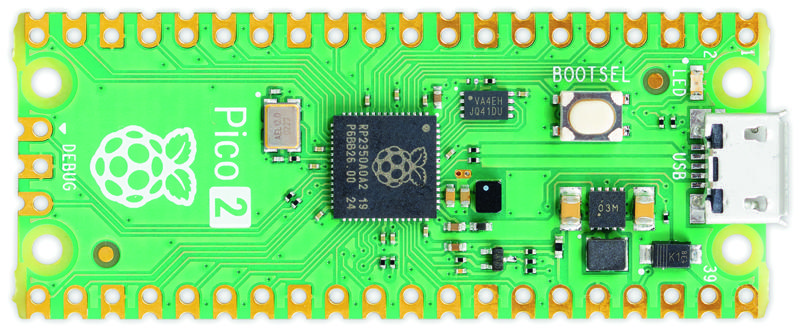
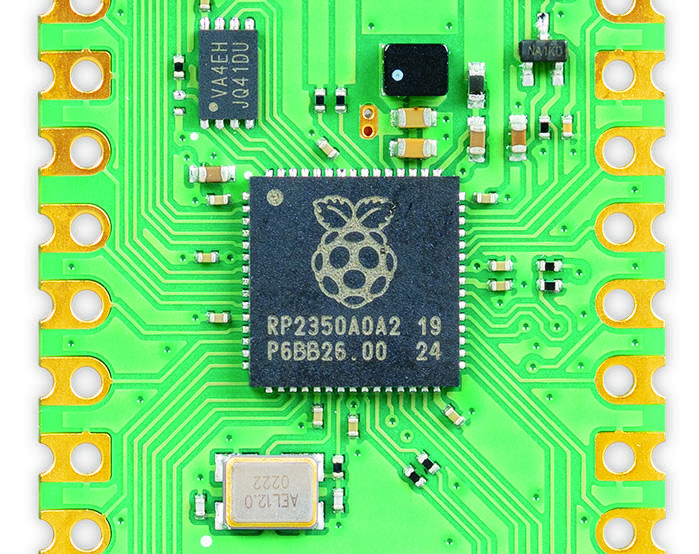
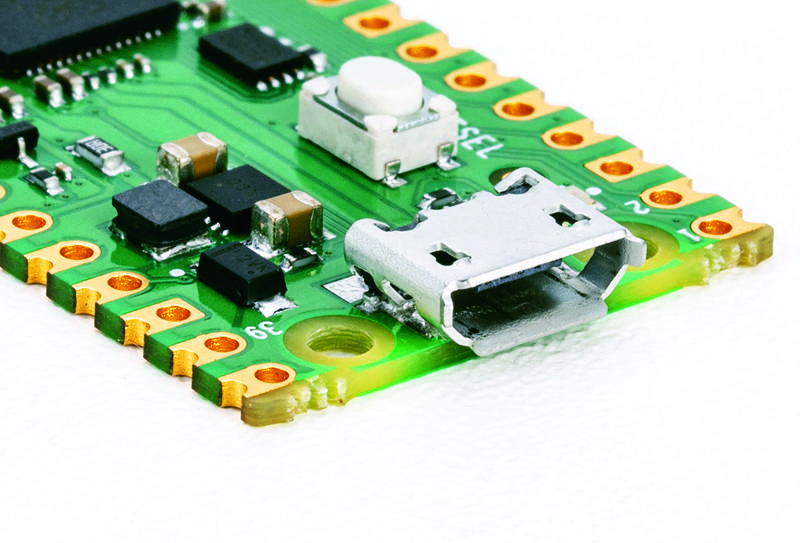
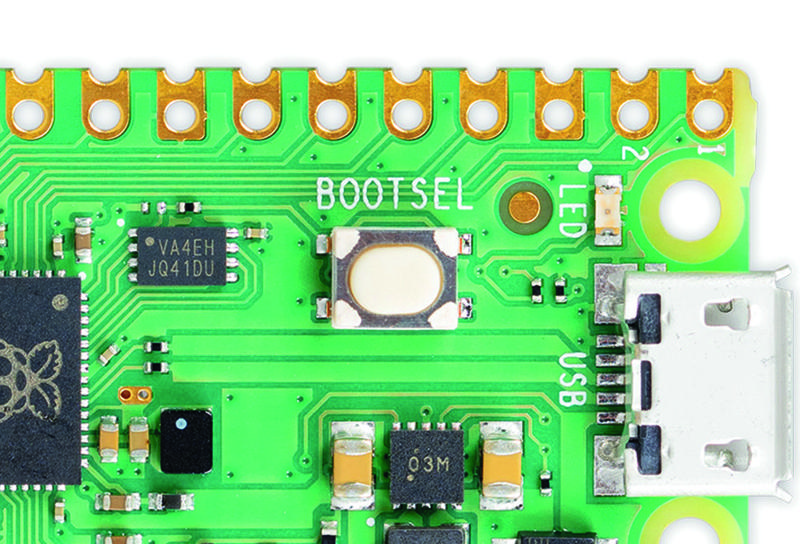
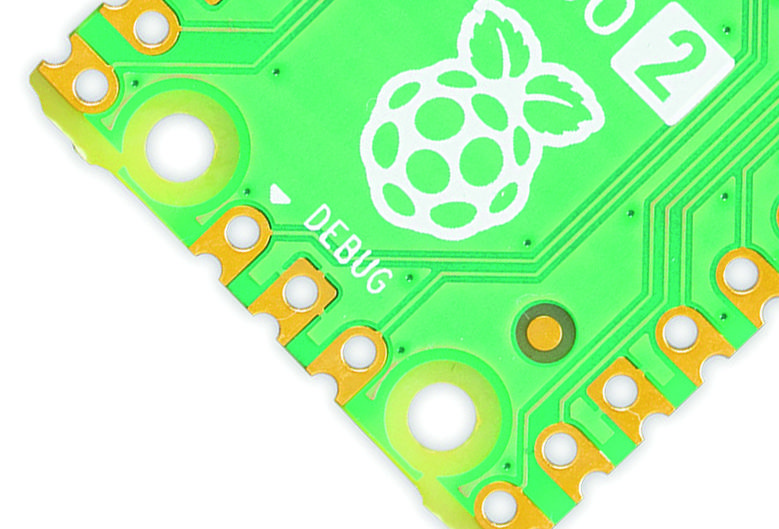
Look closely at each photo below. Find that part in the chapter, then write what it is called and one thing it does.
Part 2: Soldering the Headers
This section has real safety warnings in it. Slow down and read them carefully.
Safety check
- Why should you never touch the metal part of a soldering iron, even right after you unplug it?
- Solder contains something called flux. Why does the chapter tell you to wash your hands after using it?
- Where should the soldering iron go any time you are not actively using it?
Vocabulary
| Word | What it means |
|---|---|
| Solder | |
| Flux | |
| Tinning (the iron) | |
| Solder bridge |
Put the steps in order
These steps are all mixed up. Read the soldering section, then write a number from 1 to 6 in the first column to show the order they really happen in.
| Order | Step |
|---|---|
| Melt a small blob of solder onto the tip of the iron (tinning it) | |
| Push the two header strips into the holes on the Pico | |
| Plug in the soldering iron and let the tip heat up | |
| Heat the pin and the pad together, then touch solder to the joint | |
| Check every pin for good joints and for bridges to nearby pins | |
| Wash your hands |
Spot the problem
The chapter shows a figure with five labeled examples (A through E) of things that can go wrong when you solder a joint. Find that figure, then match each problem below to its letter and write down the fix.
| Letter | What went wrong | How do you fix it? |
|---|---|---|
| The joint got too hot and the flux burned | ||
| There is way more solder than the joint needs | ||
| Solder touches a nearby pin it should not be touching | ||
| The solder stuck to the pin but not to the pad | ||
| There is not enough solder to fill the joint |
Draw it
Draw what a well soldered joint looks like from the side. Label the pin, the pad, and the solder.
Part 3: Installing MicroPython
Fill in the blanks
To put your Pico into firmware loading mode, you hold down the button while plugging in the micro USB cable. Your Pico then shows up on your computer like a . To actually install MicroPython, you drag a firmware file ending in onto that drive.
Think about it
- Why do you only need to install MicroPython once, instead of every time you use the Pico?
- Pico, Pico W, Pico 2, and Pico 2 W each need their own matching firmware file. What do you think would happen if you installed the wrong one?
Wrap-up: 3-2-1
- Write 3 things you learned in this chapter.
- Write 2 questions you still have.
- Write 1 way this chapter connects to something you already know or have used before.